![<?echo $_SERVER['SERVER_NAME'];?>](/template/twentyseventeen/skin/images/header.jpg)
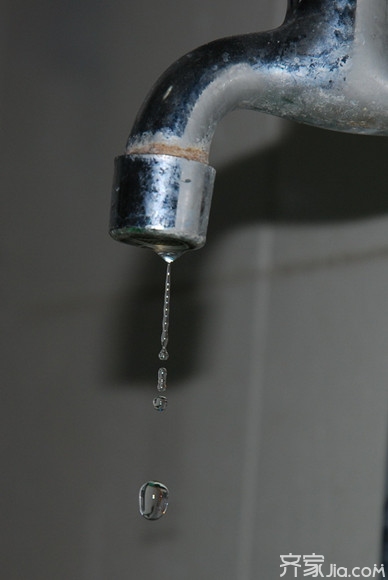
As we all know, taps have been used for a long time and there is a possibility of water leakage. In today's increasingly advocating the conservation of water resources, if your home kitchen faucet leaks, of course, we must quickly think about how to do well, it is not only a saving of resources, long-term down, but also save a lot of water charges. Usually consumers will choose to buy a new leader to help the property installation. In fact, the water dripping from the leading faucet is only a small apron inside, and it can be repaired completely. Next, Xiaobian will give you an introduction on how to repair the faucet leak .
How to repair leaking faucet
First, press the faucet
Required tools: Use these tools to deal with push-type taps - screwdrivers, penetrating oils, slip joints or adjustable wrenches, and pads to be replaced.
Step 1: Turn off the water supply and remove the small screw on or behind the faucet handle to remove the handle that is attached to the faucet body. Some screws are hidden under metal buttons, plastic buttons, or plastic tabs that snap into or screw into the handles. Just open the button and you will see the handle screw on the top. If necessary, use a penetrating oil such as WD-40 to loosen the screws.
Step 2: Remove the handle and check the parts of the faucet. Remove the packing nut using a large-scale pliers or adjustable wrench, taking care not to leave scratches on the metal. Rotate the spool or shaft in the same direction that you turned it when you turned on the tap to unscrew them.
Step 3: Remove the screws securing the washers. If necessary, use penetrating oil to loosen the screws. Check the screws and valve plugs and replace them if damaged.
Step 4: Replace the old gasket with a completely new one. New washers that almost perfectly match the old ones will generally make the tap no longer dripping. You also notice whether the old washer is beveled or flat and replaced with the same new washer. Gaskets designed for cold water only expand rapidly when there is hot water passing through it, blocking the outlet and slowing the flow of hot water. Some washers work in both hot and cold water, but you have to make sure that the gasket you bought for replacement is exactly the same as the original one.
Step 5: Secure the new gasket to the valve plug and reinstall the components in the faucet. Rotate the valve clockwise. After the valve plug is in place, reinstall the packing nut. Be careful not to let the wrench scratch the metal.
Step 6: Reinstall the handle and put the button or disc back. Re-open the water supply and check for leaks.
Second, tap valve seat:
If you change the washer and the faucet still drips, there may be a problem with the faucet seat. A damaged gasket may cause the faucet seat to become worn out by the metal plug, or the deposition of chemical in the water may form a residue that will not allow the gasket to fully compress with the seat.
How to repair a broken faucet seat? Of course, you can replace the entire faucet. Another option is to simply replace the faucet seat. If you have the right tool, known as a seated spanner, it is a simple matter to remove the old seat. Insert the valve seat spanner into the seat, and then pull it counterclockwise. Once you have removed the old valve seat, make sure that the new valve seat you bought is exactly the same as the original one. If the seat cannot be removed, insert a seat cover that slides into place on the old seat and provides a seal. Two types of seat roller or sanders that can flatten worn seats.
Another option is to use a seat roller or sander, an inexpensive tool that flattens worn seats. When using this tool, be careful not to use too much time or use too much force because the valve seat is made of soft metal and you can easily wear it off too much.
When using a sander, first remove the faucet valve and insert the seat roller down into the seat in the faucet body. Rotate the tool clockwise several times with moderate force. Then use a cloth to wipe off the metal chips that have fallen off the valve seat.
Editor's summary: The above is how the repair of faucet leaks was introduced. Did you learn it? If you still want to learn more, please pay attention to the latest developments on the website.
Faucet leak faucet faucet top ten brand faucet price bathroom faucet
Utility Knife,18Mm Hobby Knife,Safety Utility Knife,Snap Off Blades
Yucheng Weisite Measuring Tools Co., Ltd , https://www.wsttool.com